
Alternate panoramas: every finish in one tour
Show a light, dark and neutral kitchen from the same spot, let buyers compare them side by side, and see which one they chose. Here’s how alternate panoramas work.
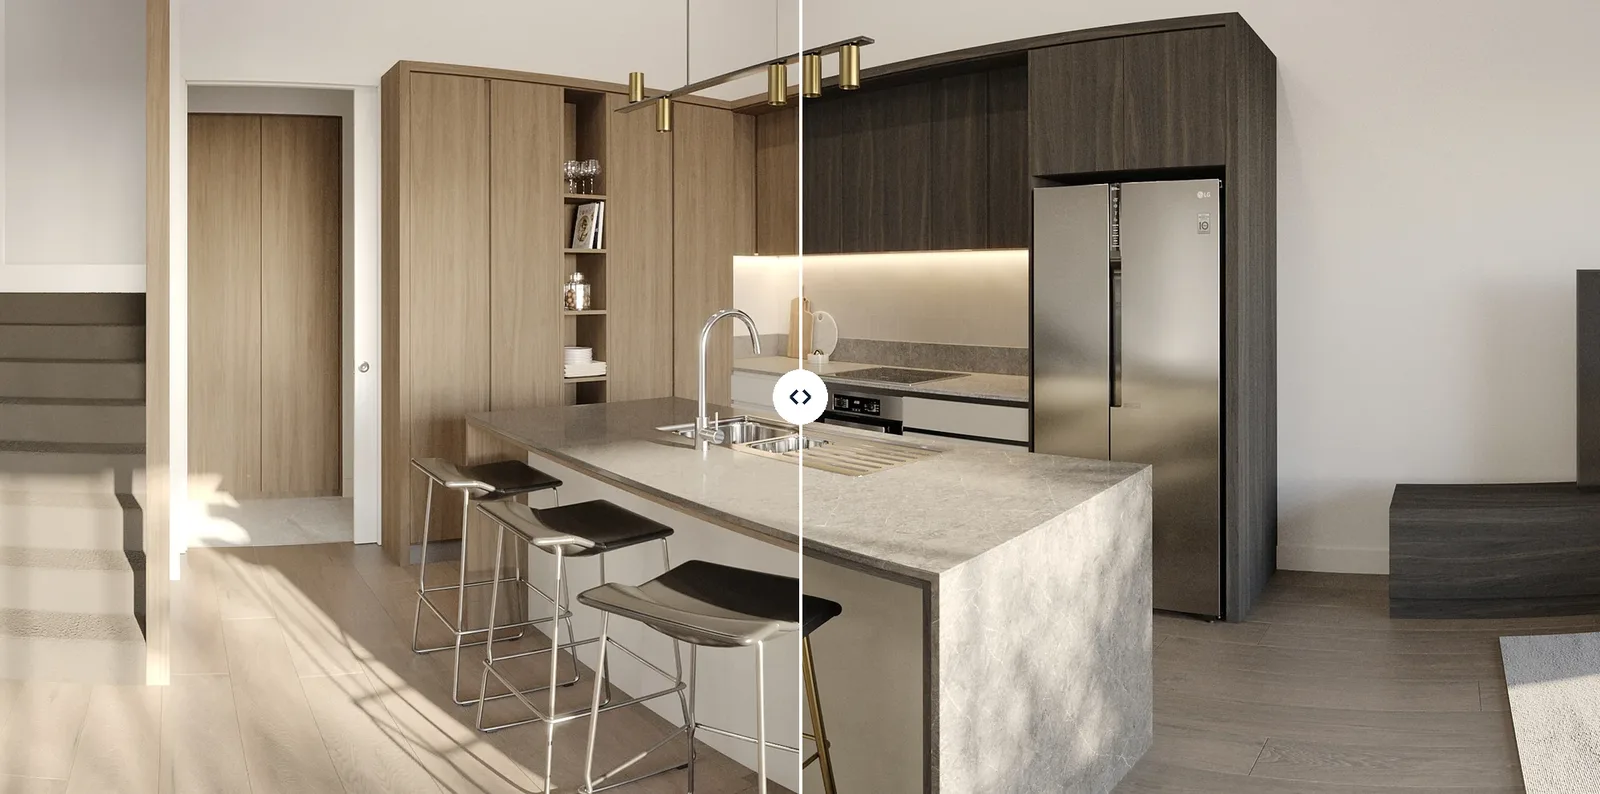
Most off-the-plan projects come with a choice of colour schemes. Buyers usually see them as a few flat renders in a brochure, or as a separate tour for each scheme. ArchviewVR now puts them in the one tour, right where buyers are standing.
What they are
An alternate panorama is another render from the same camera as one of your main renders: the kitchen in Dark as well as Light, or a bathroom with the upgrade. Because it’s the same camera, it uses the same position and heading. Hotspots, room names and the floor circle stay exactly where they are.
Why they help
- Choices in context. Buyers see the dark joinery next to the stairs and the light coming in, not on a swatch board.
- One link, every scheme. No second tour to build, share or keep up to date.
- Render only what changes. Add alternates for the kitchen and bathrooms and leave the rest of the tour as it is.
- Side by side. A before and after slider lets buyers drag between two schemes from the same spot.
- Know what they picked. Analytics shows how long people spent on each scheme and which ones they compared. That’s useful when a developer is choosing finishes for the display suite.
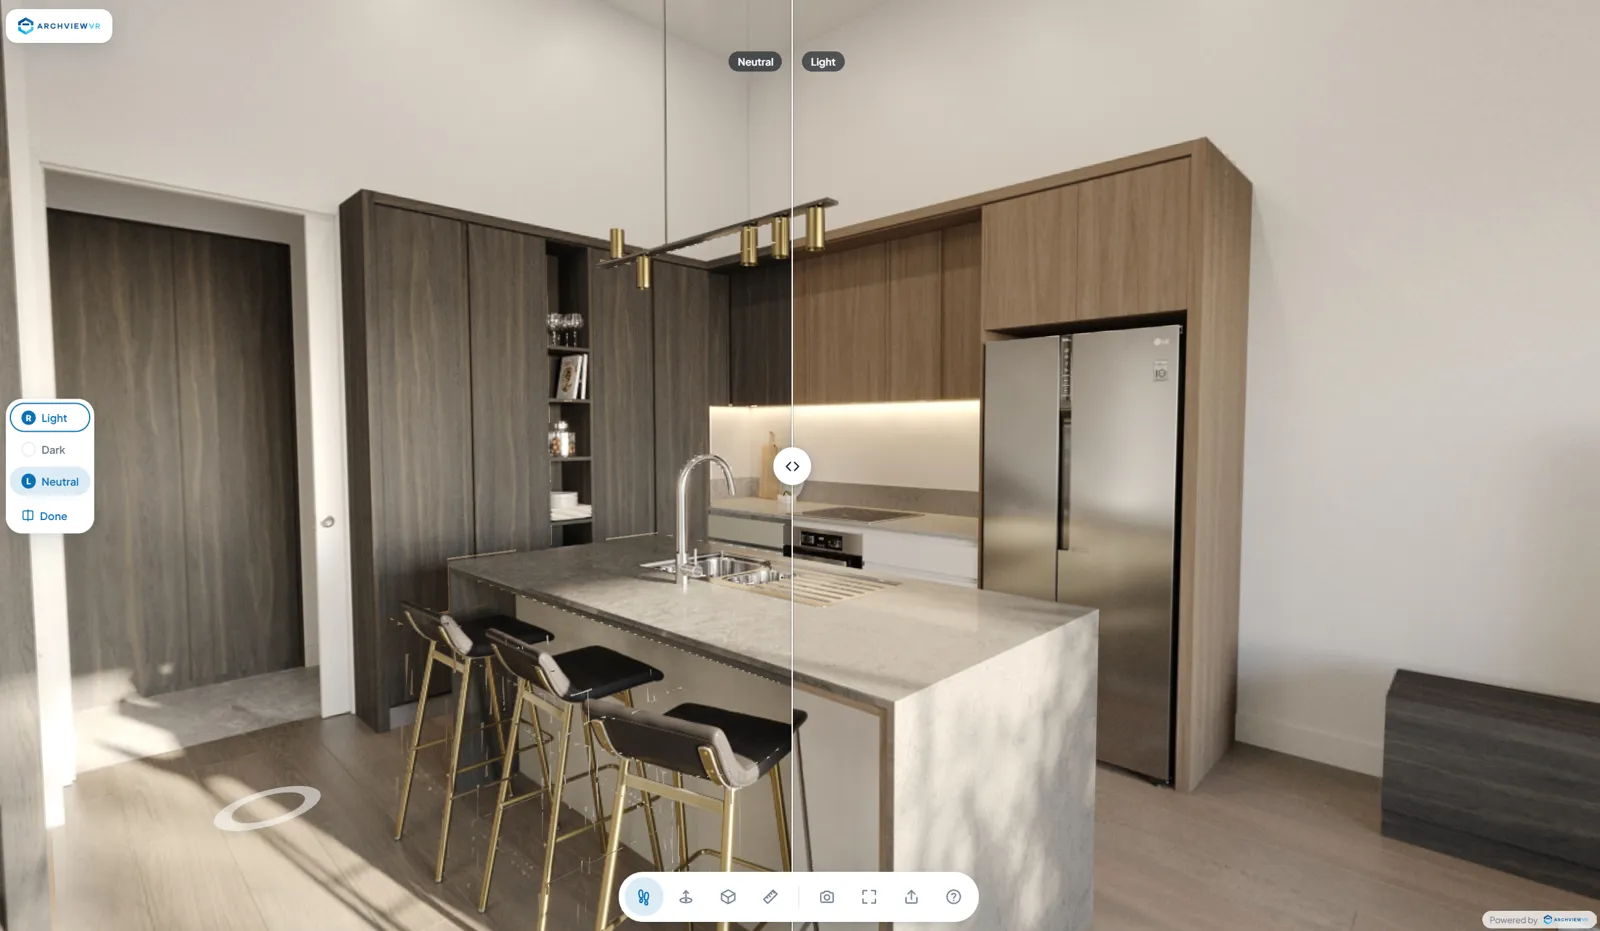
How it works as buyers move
Buyers walk the tour as normal. When they stop at a spot that has alternates, a button for each scheme appears on the left, with your main renders first.
- Their choice follows them. Pick Dark in the kitchen and every other spot with a Dark render switches too, including the views they blend through as they walk.
- Spots without that scheme show the main render. Walk back to the kitchen and it’s still Dark.
- Compare splits the screen. With two schemes it’s a straight before and after. With three or more, buyers pick which two go on the left and right. Whatever they tapped last stays on when they walk away.
A whole tour in each scheme
You don’t have to stop at one room. Render every camera in each scheme and the whole tour switches together: walk mode, hop and the 3D plan, which is painted from the chosen scheme.
The easiest way to set that up is to upload every scheme at once. Name each render after its camera plus the scheme, like Pano_01_Scheme Light.jpg and Pano_01_Scheme Dark.jpg. The Check step sees the renders that share a camera, keeps the scheme found at every camera as the main one, and saves the others as alternates named from the file names. Each alternate takes about the same space as a main render, so a full second scheme roughly doubles a tour’s size.
Setting it up
For a tour that’s already saved, open Set up tour → Alternate panoramas, pick a render, and add its alternates. Name them, put the schemes in order, and save. The help article has the full steps.
Trial projects can try three alternates. Published tours can have as many as their storage allows.
Try it
Have a look at the finishes section on the home page, or start a free project and add your own.
More from the blog
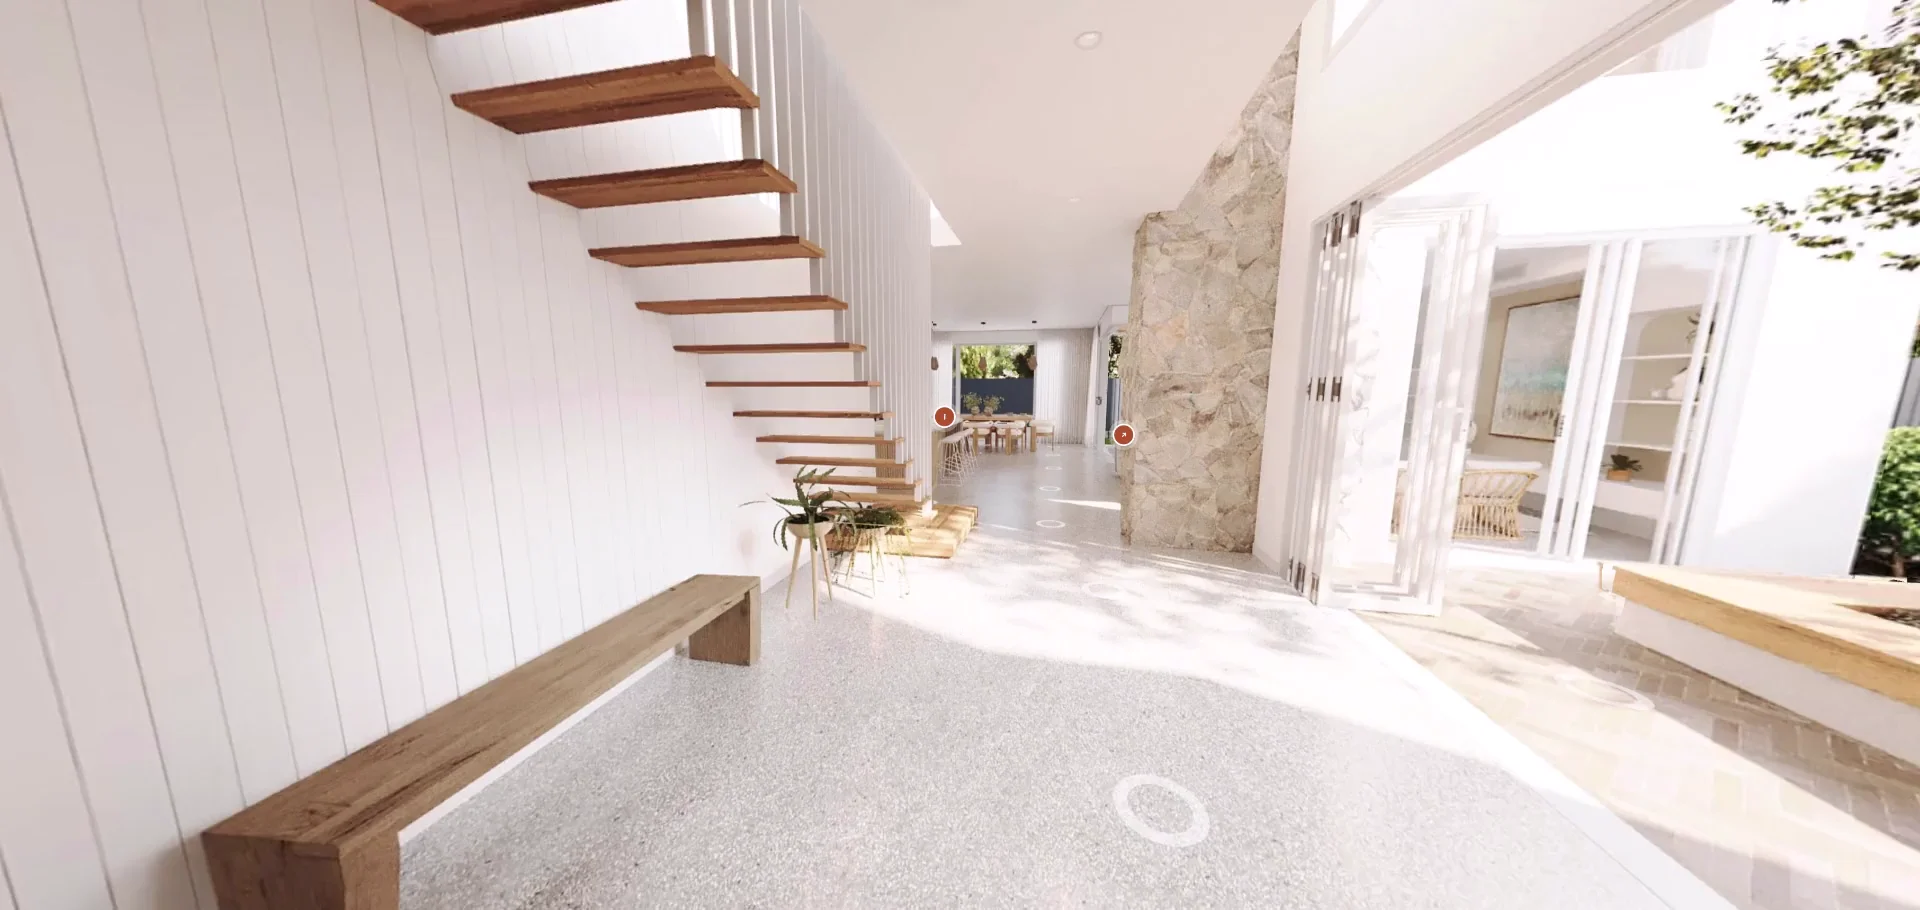
A new ArchviewVR: website, dashboard and help centre
A fresh website, a rebuilt studio dashboard, a full help centre and a long list of new tour features. Here’s what’s new.
Read the post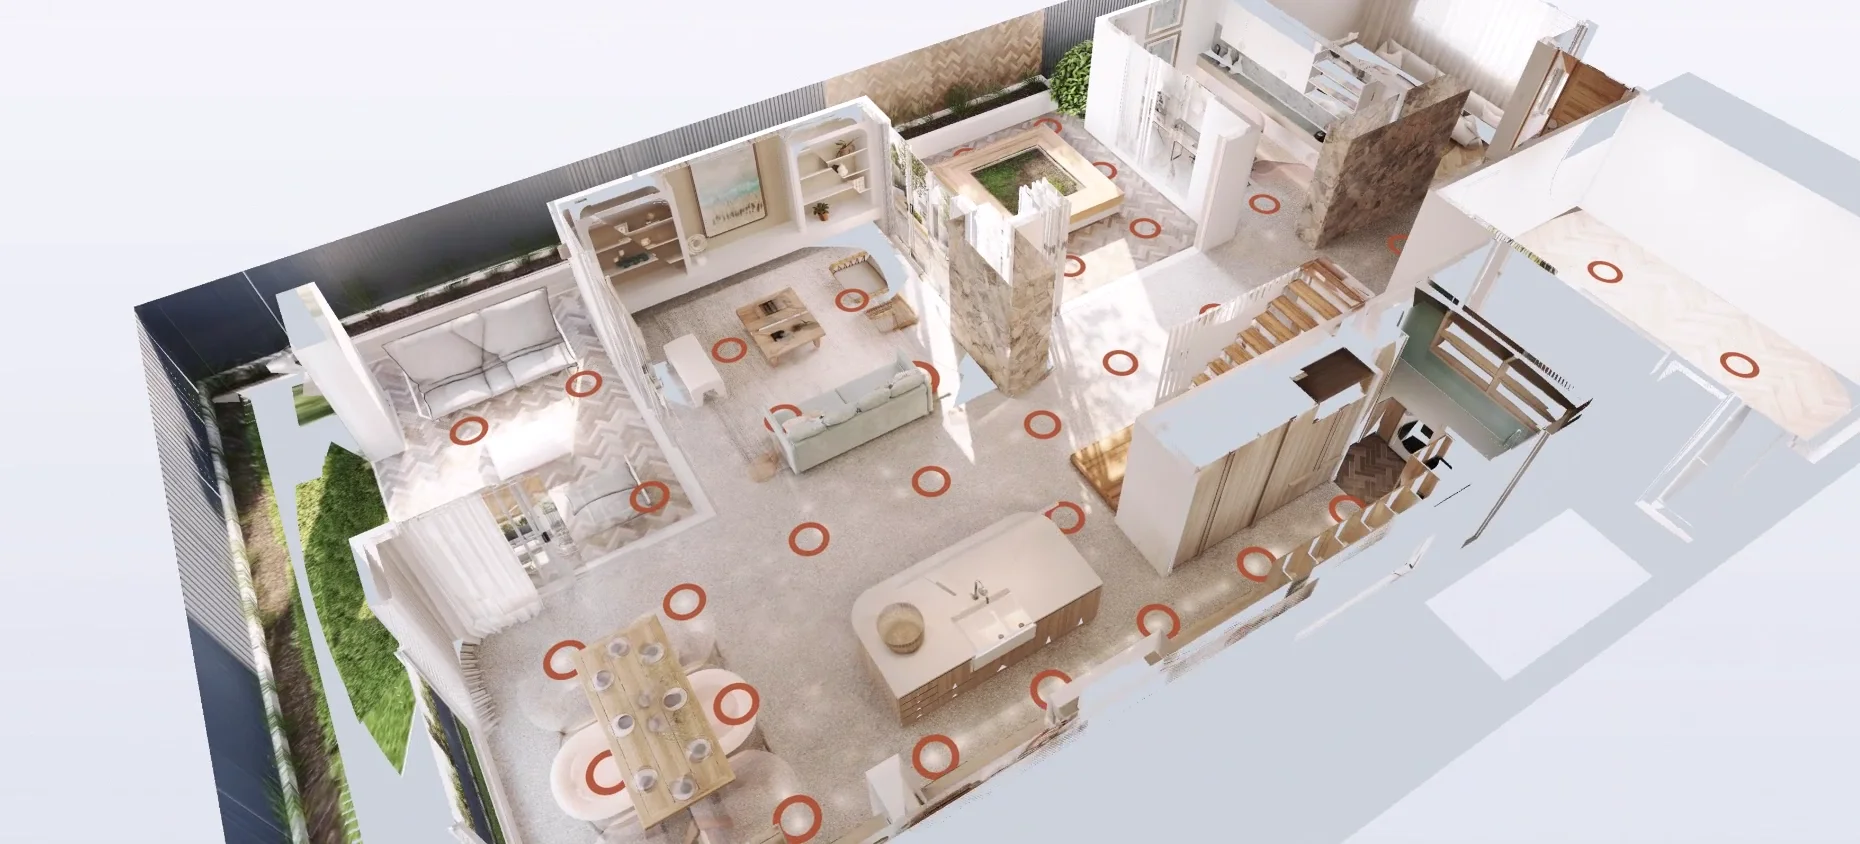
ArchviewVR vs other virtual tour software for off-the-plan projects
Hotspot tours, scanned tours and game-engine walkthroughs each have their place. Here’s how they compare when the home isn’t built yet.
Read the post