
Your first tour, start to finish
The whole journey from your 3ds Max scene to a published tour link, in order.
Open the guide
When you first sign in, your projects page offers Take the guided tour. Later you can open it any time with Guide on your projects page. It walks through every step below with pictures, and you can skip anything you already know.
In 3ds Max
- Place your cameras. One every 2–4 metres, at about 1.6 m, level, with short names and no spaces. See Placing and naming cameras.
- Render the 360s. Corona cameras set to spherical, 2:1, the same exposure everywhere. Batch render them overnight. See Rendering 360° with Corona.
- Make a proxy model. Floors, walls, ceilings, stairs and big joinery, under 150K polygons. See Making a simple proxy model.
- Run the exporter. Download it with Download exporter on your projects page. It saves points.txt and model.obj into one folder. See Export with the ArchviewVR Exporter.
- Organise the folder. Copy the renders in next to the points file and the model. See Organising your folder.
In ArchviewVR
- Start a project. Press New project, enter a Project name and press Create project.
- Drop the folder. Drag the whole folder onto the page. It’s read in your browser and each render is placed as you watch. See Upload your folder.
- Check and save. Press Continue to check, look at anything flagged, then press Accept and save. See Check and fix flagged renders.
- Set up the tour. In Set up tour, choose where buyers start, name the rooms, add hotspots and pick how buyers can move. See Choose the start view.
- Brand it. Add your client’s logo, colours and loading screen in Brand kit. See Logo and accent colour.
- Preview it. Press Open preview on the project page to see the tour as buyers will. Trial previews carry a watermark.
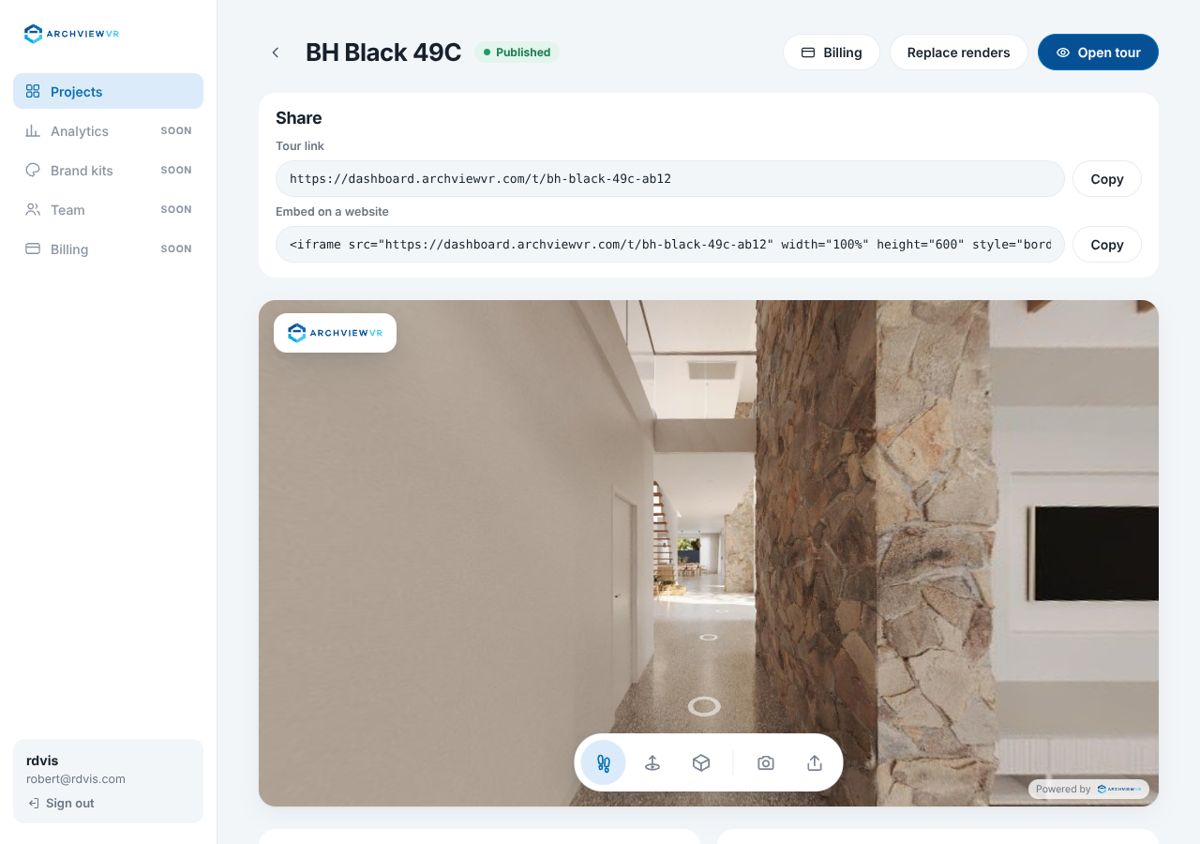
- Publish. Press Publish · $29/mo and pay through checkout. You get a tour link, embed code and QR code. See Publish a tour.
Tip: you don’t need to publish to try it. Everything up to the preview works on a free trial with up to 10 renders.
Changes later
Re-rendered a room? Press Replace renders and drop only the new files. Same-named renders replace the old ones; room names, hotspots and settings stay. See Replace or add renders later.
Was this helpful?