
How ArchviewVR works
ArchviewVR paints your 360 renders onto a simple model of the building, so buyers can walk through your renders instead of jumping between them.
The idea
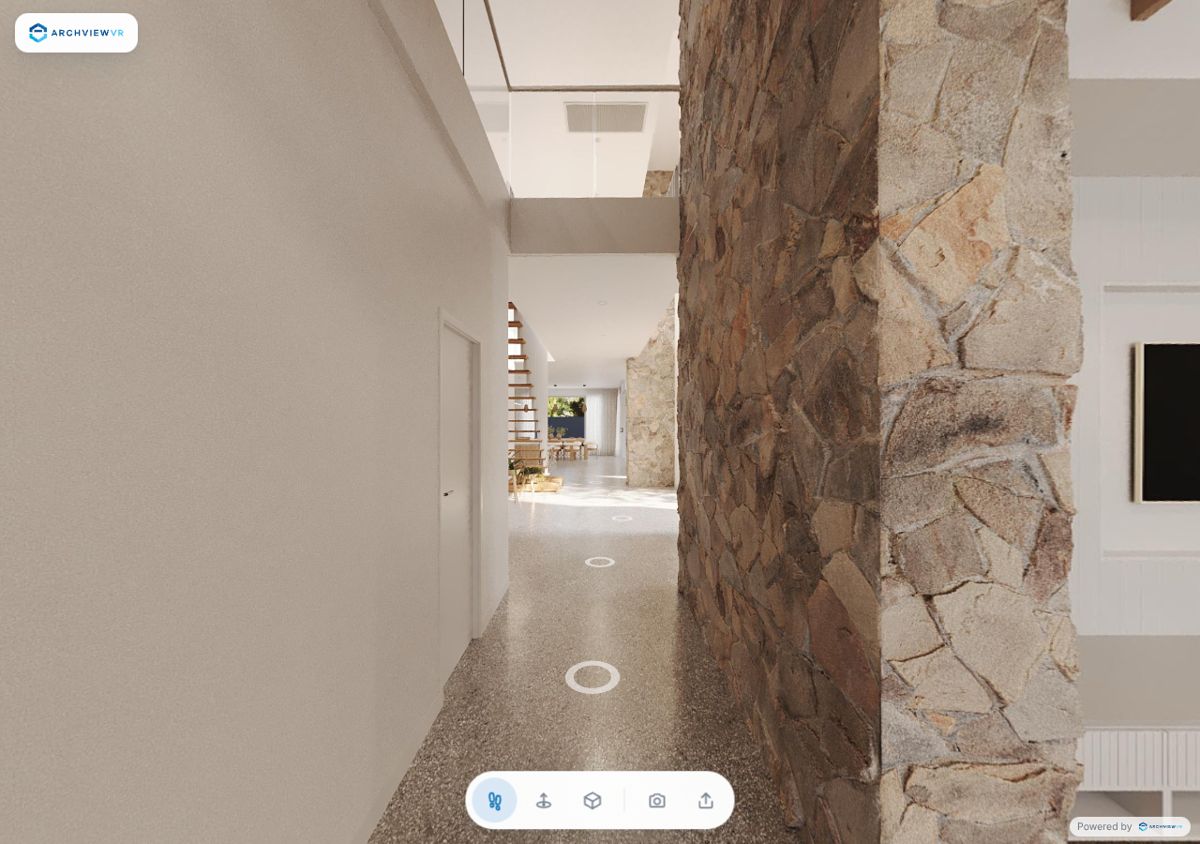
A normal 360 tour jumps from one render to the next. ArchviewVR knows where each render was taken and has a light model of the building, so it can project your renders onto that model. Between two camera spots it blends the nearest renders together, so buyers can move smoothly anywhere in the home, not just stand on the spots you rendered.
What goes in
Each project is made from three things, all exported from your 3D scene:
| What | Why it’s needed |
|---|---|
| 360 renders | What buyers actually see. One per camera, 2:1 spherical. |
| Camera points | Where each render was taken, so it lands in the right spot. |
| Proxy model | Simple floors, walls and ceilings for the renders to be painted onto. |
See What you need before you start for the details.
What happens when you upload
- You drop one folder. The model, the points file and the renders.
- Your browser does the work. It converts the model to metres, matches every render to its camera by name, finds the floor levels and works out which way each render faces. Nothing uploads yet.
- You check it. Anything that doesn’t line up with the model is flagged so you can fix it, then you save.
- You set it up. Choose the start view, name rooms, add hotspots and apply your brand.
- You publish. You get a link to send to buyers or embed on a website.
What buyers get
- Walk mode: move freely with the keys or an on-screen joystick.
- Hop: tap a spot and glide to the nearest view.
- 3D plan: fly out to a model of the whole place, painted from your renders, and tap anywhere to go back in.
There’s nothing extra to render for the 3D plan. It’s built from the renders you already have. See Walk mode, hop and the 3D plan.
Tip: new projects start as free trials, so you can try the whole process on a real job before paying. See Trial vs published tours.