
Rendering 360° with Corona
Set up Corona cameras for spherical 2:1 renders with a look that matches from camera to camera.
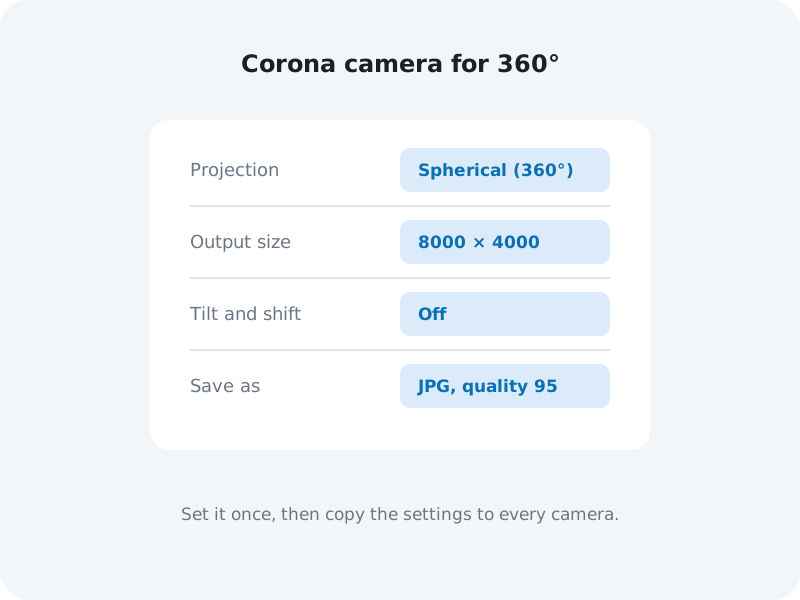
Switch the cameras to 360°
- Use Corona cameras. One for each camera position.
- Set the projection to spherical. In each camera’s settings, set the projection to Spherical (360°).
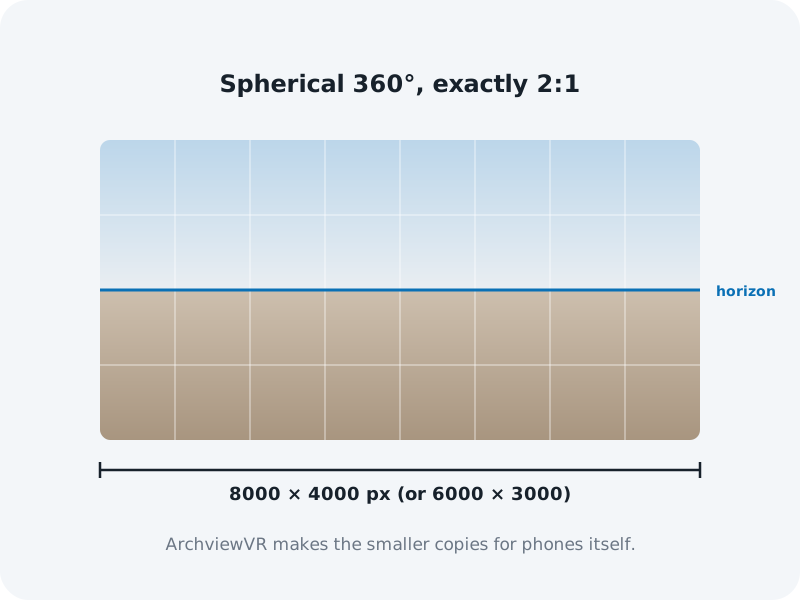
- Set the output size to exactly 2:1. For example 8000 × 4000.
Choosing a size
Bigger looks sharper when buyers stop to look around. When a buyer stops at a render, the tour swaps in a sharper version: 4K wide with the default Balanced picture quality, or your full-size render with Sharpest. Full-size renders are kept at up to 8192 pixels wide, so there’s no benefit going wider than that. See Picture quality and phones.
Every render is stored at full size plus two smaller sizes for moving and for phones. A project holds up to 500 MB in total, so if you have a lot of cameras, check the storage bar when you upload. See Big or slow uploads.
Keep the look the same everywhere
ArchviewVR blends neighbouring renders as buyers walk, so they need to match. A render that’s brighter or warmer than its neighbours flickers as buyers move past it.
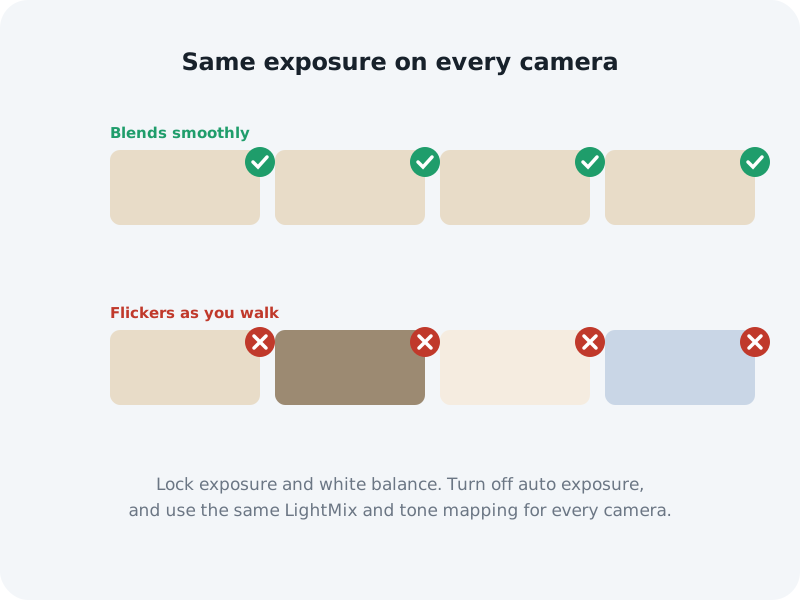
- Turn off any auto exposure.
- Use the same exposure and white balance on every camera.
- Keep the same LightMix and tone mapping.
Batch render
- Open Batch Render. In 3ds Max choose Rendering › Batch Render.
- Add a view for each camera.
- Save each one as a JPG, quality 90–95, named exactly like its camera.
- Let it run overnight.
Tip: JPG is the best choice. PNG works too, but it’s slower to read and is converted to JPG when it’s saved.
Warning: renders that aren’t 2:1 are flagged as not 2:1 when you upload. Re-render them at exactly twice as wide as they are tall.